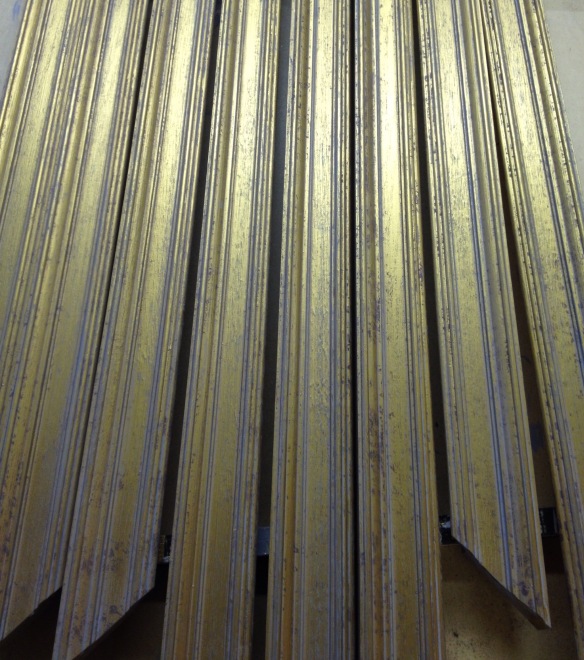
Painting your frame gives you the opportunity to use any colour you like to enhance your artwork, there are some established colours and finishes that have stood the test of time and here I will cover three simple finishes to get you started. After that it’s really only about imagination and experimentation.
Im working on some photographs to accompany this post. Once they are done I’ll make this post a page on the main website.
Choice of paint.
There are all manner of options available to you when it comes to paints however you can do a great deal with normal household water based paints and acrylic paints. I suggest that oil based paints are not used due to the necessary drying time required.
Artists, particularly those who use acrylic paints will probably have all they need to paint their frames already, with the possible exception of wax. A good quality framers wax is advisable, although bees wax based furniture wax, the paste type, not the spray, can be used if you do not wish to go to the expense of obtaining some.
If using artists acrylics it is not necessary to use expensive professional artist quality paints for your frames, student quality are perfectly good.
Acrylic paint can dry quite quickly so I would recommend starting with simple single colour finishes to start with, this way a rapidly drying layer of paint won’t pose the same problem that a finish involving multiple colours and layers might.
Other paint options are legion; any water based household paints you may have available, sample post form the local DIY store are a good source.
Mixing your paint.
Assuming that you are using acrylic it is best to water down your paint to a smooth liquid consistency. I use old yoghurt pots for this purpose and I mix up enough paint to complete a frame in one go. If you need to take a break or leave paint overnight a bit of cling film over the top of the pot will keep the paint fresh to continue later.
It’s best to work out the colours before mixing up too much paint. As artists you should have no problems in working out what colour to paint your frame, and of course it is down to personal choice. Mix the paint to a consistency similar to double cream.
Painting your frame a single, solid colour.
Applying the paint
Using a good quality household brush, no need to use expensive sable here, start painting the frame. Don’t apply too much paint to start. You will soon see how much you need to apply and the paint can be worked long enough to get a good consistent covering. It is probably worth experimenting on a spare bit of wood if you have some.
Work the paint into the corners, but don’t allow the paint to pool. Make sure the back and the sight edge are covered; it is easy to miss a bit if not careful. When you have covered the entire frame, set it aside to dry. You may wish to apply a second coat or to touch up any areas you may have missed.
If you are after a smooth finish you may find you need to apply several coats of paint. Make sure to allow each coat to dry fully before applying the next.
You will find some acrylic paints dry to a matt finish. Not the most attractive of finishes and it is here that a good quality wax can really make the difference.
Creating a distressed or aged finish.
Creating an aged or distressed finish is probably the most popular way to finish frames. The finish is suitable for many styles of painting and as the finish is distressed who is to argue about any imperfections here and there? In fact, they often enhance the effect.
A distressed finish is typically archived using two or more coats of paint, the colours are up to you and experimentation is the order of the day, however choosing a neutral top layer with an undercoat in a colour complimentary to the art work is a good place to start. Reversing this is also very effective and the choice of a clay red undercoat can be used to simulate the red clay bole that is used as a base for gilding and can be very effective.
Apply the first coat as you would for a single solid colour, make sure to paint the frame completely and cover all the wood. Allow to dry and apply a second coat. It is important to allow the frame to dry completely before applying the second coat.
Apply a second top coat and again allow to dry completely. An old coat hanger bent into a ‘S’ hook shape is a good way of hanging the frame while it is drying.
Now for the fun part. Using some fine (000) sand paper gently, and I mean gently, start to rub the frame. Begin by just gently rubbing the sand paper over the edges and high area, you will soon see how much paint to take off to archive the desired effect.
Gradually progress all around the frame. You will notice as you work the undercoat is gradually exposed here and there depending on how much pressure you apply. Go carefully and methodically. You only want to remove a little of the top coat to expose the undercoat, do not rub through to the wood.
Once you have achieved the desired result, and it doesn’t take long, clean off the dust with a clean cloth.
Now is the time to assess your handy work. If you like what you have done then it’s time to wax the frame, if not you can apply a fresh top coat, let it dry and try again.

